When should you inspect and clean optical connectors
An optical system that operates normally typically maintains stable attenuation, low reflection, and smooth connectivity. When the loss level suddenly increases, the signal becomes unstable, or the transmission line shows intermittent disconnections, it’s time to suspect the connectors. In most cases, the problem doesn’t lie in the fiber cable itself but at the contact point. In dusty or humid environments, connectors can become contaminated after only a few plug-in or removal cycles. For outdoor installations, fine dust and moisture accelerate connector degradation much faster than in indoor conditions.
It’s also advisable to perform testing whenever new installations, device changes, or patch cord replacements are made. Some technicians have the habit of checking only by measuring loss after connection, but without cleaning first, those results can be misleading. A dirty connector not only causes temporary loss but can also transfer contaminants to the mating end, damaging a previously good patch cord. Spending a few minutes on proper inspection and cleaning can save hours of troubleshooting later.
Prepare tools
Before getting started, it’s essential to prepare a complete set of specialized tools. At a minimum, you should have a fiber inspection camera or optical probe to check the connector condition, a dedicated fiber cleaning kit, pure isopropyl alcohol for deep cleaning, and protective caps to cover connectors when not in use. Many engineers today use devices such as the Fluke FiberInspector Ultra or Shinho X-5005 to inspect and quickly determine the condition of optical connectors. These tools provide clear, detailed images that make it easy to detect even tiny dust particles on the contact surface. All of these instruments are specifically designed for fiber optics, ensuring a spotless clean without scratching the polished connector end face.
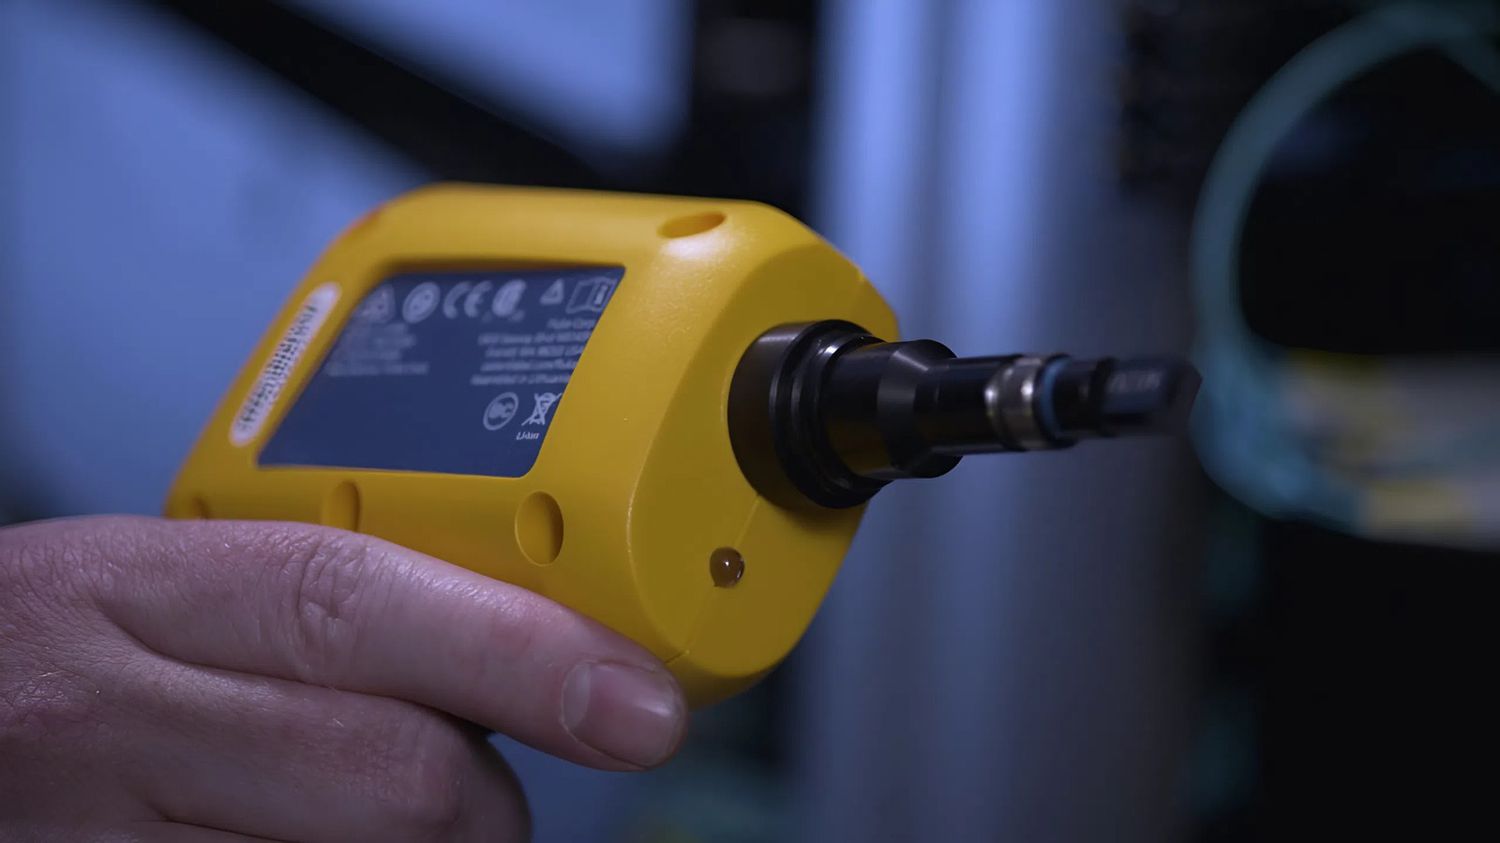
Some technicians still rely on tissues or cotton swabs, assuming that cleaning visible dirt is enough. However, fibers from paper or cotton can cling to the connector surface, creating reflection points and heat buildup as light passes through, which gradually damages the connector. A degraded connector not only disrupts signal transmission but can also damage the optical port of the device itself. Therefore, investing in proper tools is a necessity not a suggestion.
Optical connector inspection and cleaning procedure
Step 1: Check the connector condition
Place the optical connector under a camera or optical pen for observation. The magnified image will clearly show dust, oil, or scratches. A clean connector has a uniform reflection, with no dark spots or streaks in the center. Even a speck of dust in the center can cause a significant increase in attenuation.
Step 2: Dry cleaning
Use a cleaning pen or cleaning roll specifically designed for the connector. Position the connector correctly, rotate gently as directed, without applying too much force. Then inspect the connector again. In most cases, a dry wipe is sufficient to remove light dust and small particles.
Step 3: Wet cleaning
When the connector is contaminated with oil, stubborn stains or dust, use an optical cleaning swab to lightly moisten it with isopropyl alcohol and wipe it in one direction. Immediately after that, use the dry part of a specialized cleaning paper to remove the remaining solution. Do not let the solution accumulate because when it dries, it will create a white residue, making the connector opaque and reflecting light unevenly.
Step 4: Check again
After cleaning, check the connector again. If the surface is bright and even, without spots, smudges or scratches, the wire can be re-installed. If there is still dust or small streaks, repeat the process. Never plug the wire in when the connector is not completely clean, as the dust will spread to the other end, causing wire connection errors.
Periodic maintenance of optical connectors
To maintain long-term system stability, it’s important to establish a regular maintenance schedule for all optical connectors. In clean environments, inspections every three to six months are typically sufficient. For systems installed in industrial areas with heavy dust or large temperature fluctuations, the interval should be shortened to every two to three months. After each maintenance session, it’s advisable to record the measured insertion loss and take connector images using a fiber inspection camera for comparison in future checks.
If scratches or burn marks caused by laser reflection are detected, replacement is the best option. A damaged connector, no matter how thoroughly cleaned, will never return to its original low-reflection condition. Additionally, both ends of patch cords should always be capped when not in use to prevent dust and moisture contamination. Many experienced technicians make it a habit to cover the protective caps immediately after unplugging a cable treating it as a standard operating rule rather than an optional step.